Wednesday, September 21, 2011

And there it goes...

... summer. How did it escape me? Somehow those hot, sunny days came and went without even a blink of an eye.  Oh, that's right.... I live in Oregon; we had cold, rainy days.

Nevertheless, my favorite season is upon us; a time for harvesting, preserving, and feasting!  I have every intention of updating this blog more regularly with delicious, mouth-watering recipes, but I've said that before.

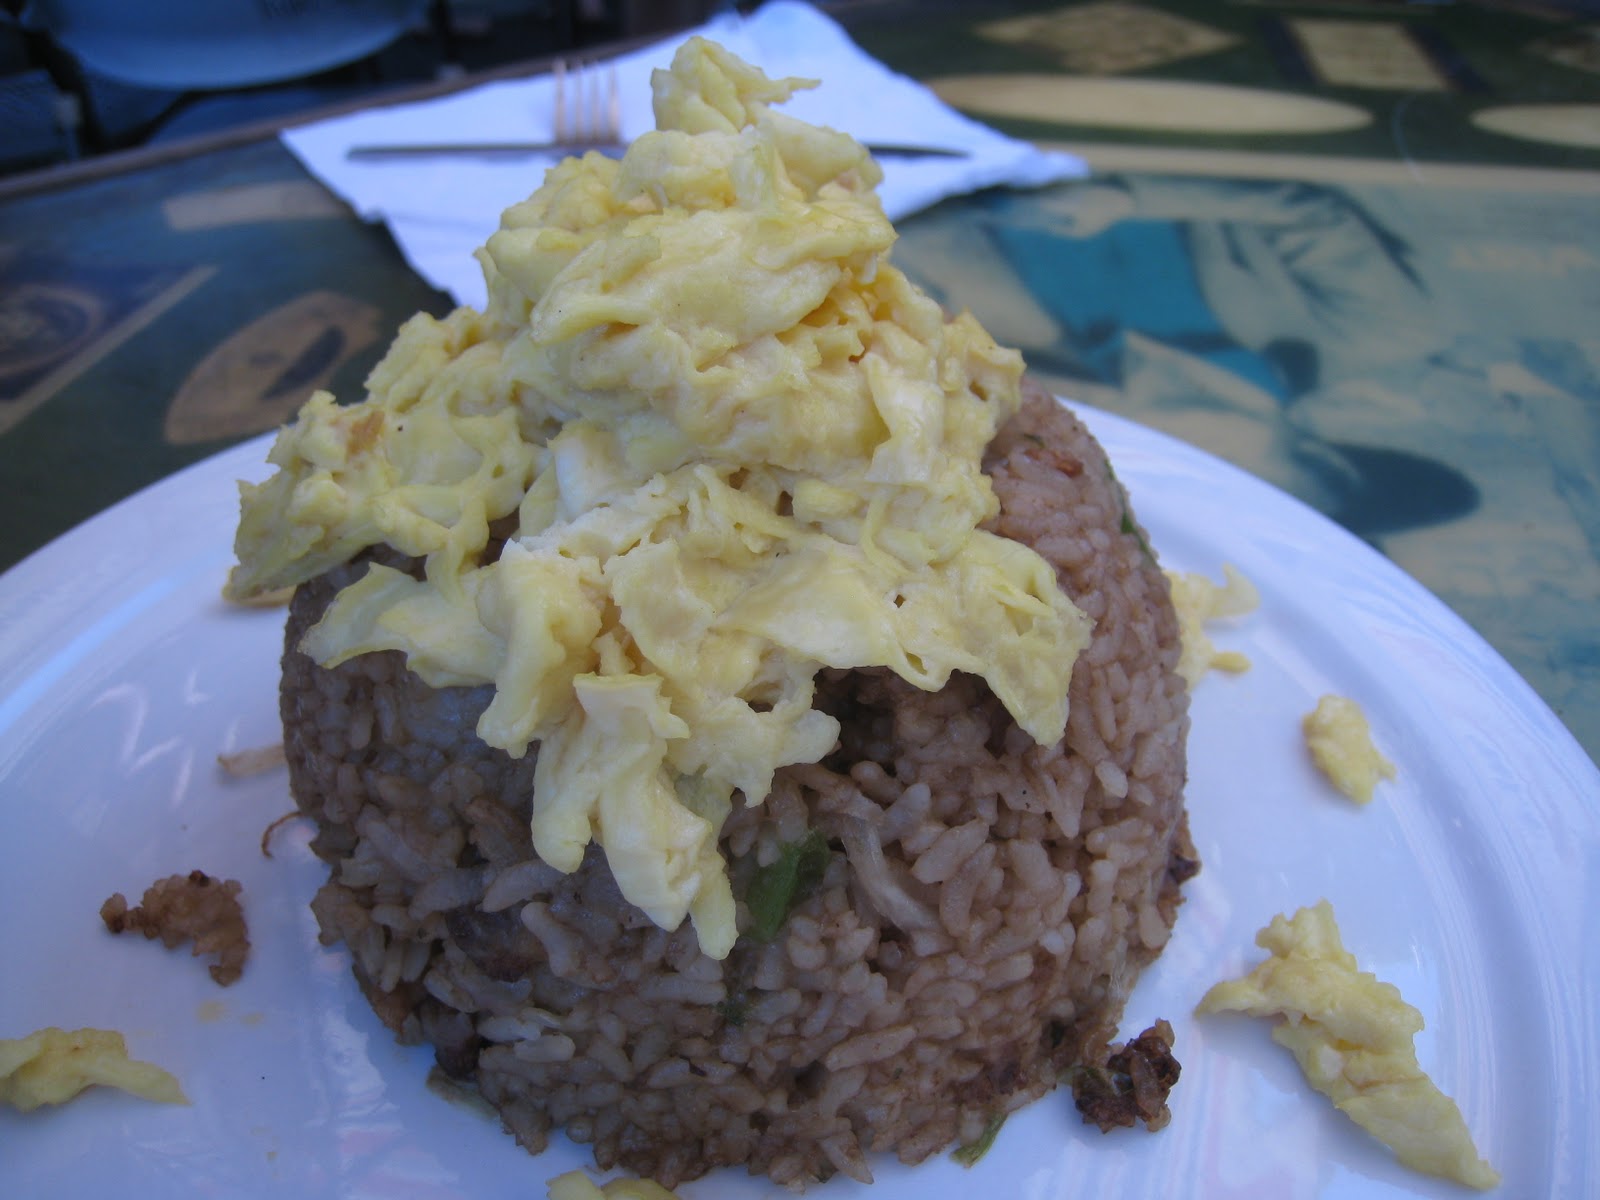
To close out the summer days, I thought I'd celebrate by sharing photos of the ridiculously amazing food that we feasted on during our Hawaii trip (mainly because I have done ZERO cooking exploration over the last few weeks and have nothing to post).  Please don't grow tired of me or assume this blog is extinct... while it may seem endangered at the moment, I promise it will be up and running in full capacity in the coming months - you can count on it! For now, enjoy salivating over these covetous meals:


Sunday, August 14, 2011

Jam-time!

When you pick 25 pounds of fresh, organic strawberries it's time for some jam!

This is only about 1/8 of the berries we picked.  I only used this much on a double batch of jam! The rest went in the freezer to use throughout the year...

 First, you need to hull the strawberries.  The easiest way to do this is using a straw, as seen here:

After you hull, you mash. (Next time, I might puree... I think I like smooth jam best).


Then, you mix the mash with lots of sugar. Lots. I tell you, do not skimp on the sugar...
I did not want to put in as much sugar as I did, but it's necessary for the jam to gel.
For 4 quarts of berries, you use approximately 10-12 cups of sugar.
I know. Ridiculous.
But necessary.
 So, go ahead... pour it in...
Then slowly bring that to a boil.  You want to try to get it up to 220 degrees. 


 Meanwhile, start sanitizing your jars and lids (lids on the stove, jars in the dishwasher)...

And start your water bath...


 ... and make a yummy strawberry beverage.
(Strawberry puree, lemonade, and ginger ale)

... and start some strawberry fruit leather in the dehydrator
(accompanied by 5 layers of drying apples!)


Once the jam starts boiling, and the water bath gets going, I get too busy to take pictures.  It's easy; you just ladle the hot jam into hot jars (straight out of the dishwasher), and process in the boiling water bath canner for 15 minutes.  Key points are to make sure:
1. Rims of the jars are clean.
2. Lid pieces are secure.
3. Jars are completely covered by water in the water bath.

After 15 minutes, remove the jars CAREFULLY, and voila!

Jam for the next 6 months! (or Christmas presents!)


Friday, July 29, 2011

Homemade Nutella

I've been too busy lately to update posts, but I promise to have new recipes up sometime next week! For now, jump on over to Brynna Begins, and check out her awesome homemade nutella recipe!!

Tuesday, July 12, 2011

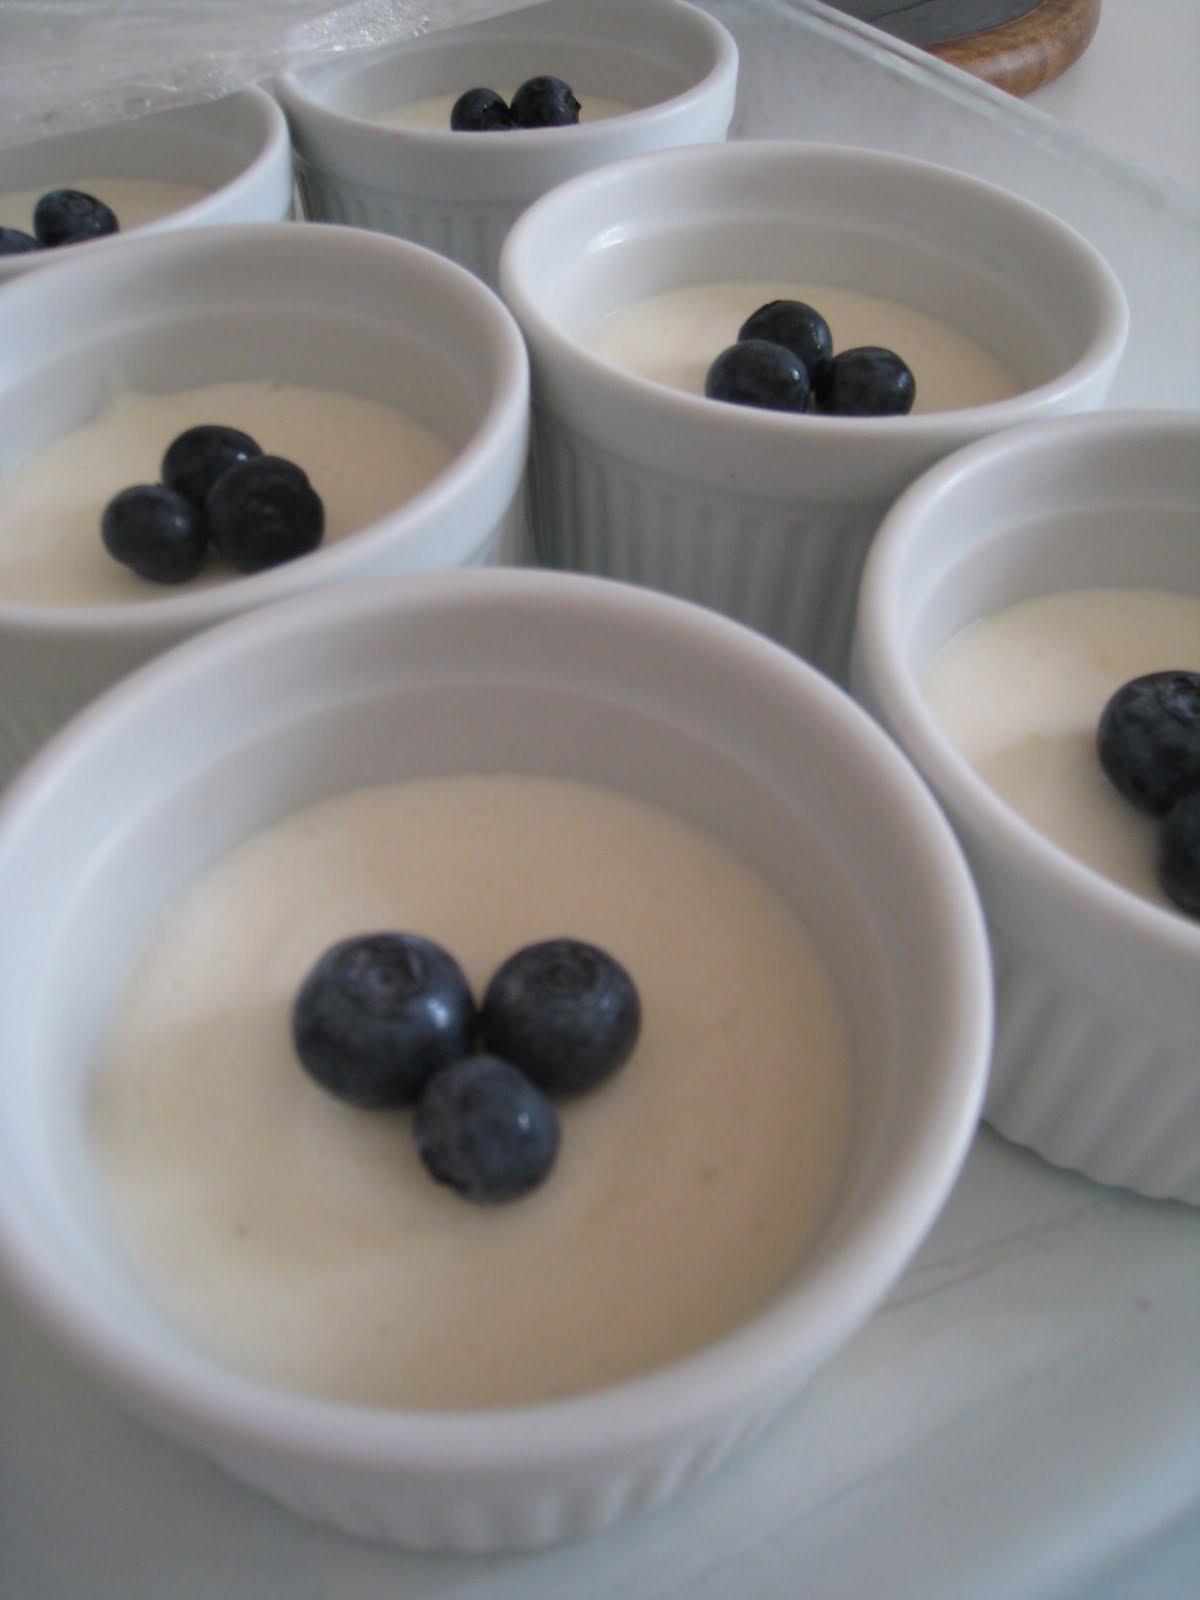
Lemon-Yogurt Mousse with Blueberry Sauce

Nothing goes together better than good dessert and good friends!

God has blessed me with three irreplaceable "kindred spirits" (yes, I'm an Anne Junkie)!  We all live in different cities now, so any chance the four of us get to be together, we take advantage of it.  This year, there happened to be ONE night that all four of us close to Corvallis, so we made it happen.  In addition to enjoying fantastic fellowship and laughter, we also enjoyed this:

Lemon Yogurt Mousse with Blueberry Sauce

I always wish that fancy desserts came in larger portions... This was so delicious and refreshing... my only complaint was that I wanted more!  

Ingredients:

3/4 c. blueberries (fresh or frozen)
2 Tbl. sugar
2 Tbl. water
pinch salt

3 Tbl. water
3/4 tsp. unflavored gelatin
1/2 c. whole milk Greek yogurt
1/4 c. heavy cream
1 1/2 tsp. grated lemon zest plus
3 Tbl. fresh lemon juice
1 tsp. vanilla extract
1/8 tsp. salt
3 large egg whites
1/4 tsp. cream of tartar
6 Tbl. sugar

Directions:

For the blueberry sauce, bring the blueberries, sugar, water, and salt to a simmer in a medium saucepan over medium heat, stirring occasionally.  Cook until the sugar is dissolved and the fruit is heated through, 2-4 minutes.
Transfer the mixture to a blender and puree until smooth, about 20 seconds.  Strain the puree through a fine-mesh strainer, pressing on the solids to extract as much puree as possible (there should be about 1/2 cup sauce).  Spoon the sauce evenly into six 4-ounce ramekins and refrigerate until chilled, about 20 minutes.  

For the Mousse:  Meanwhile, pour the water into a small bowl and sprinkle the gelatin evenly over the top.  Set aside to let the gelatin hydrate for 10 minutes.  In a separate bowl, whisk the yogurt, heavy cream, lemon zest, lemon juice, vanilla, and salt together until smooth.

Whisk the egg whites, cream of tartar, and sugar together in a large bowl.  Set the bowl over a large saucepan of barely simmering water, making sure the water does not touch the bottom of the bowl.  Heat the mixture, whisking constantly, until it has tripled in size and registers about 160 degrees on an instant-read thermometer, 5-10 minutes.

Off the heat, quickly whisk in the hydrated gelatin until melted.  Whip the warm mixture with an electric mixer on medium-high speed until it forms stiff, shiny peaks, 4-6 minutes.  Add the yogurt mixture and continue to whip until just combined, 30 to 60 seconds.

Divide the mousse evenly among the chilled ramekins with the blueberry sauce, cover tightly with plastic wrap, and refrigerate until chilled and set, 6-8 hours (I left it in the fridge overnight).  Serve chilled.

Saturday, June 25, 2011

Cinnamon-Chocolate Chip Chiffon Cake


That's a lot of C's! I wanted to try something new for my birthday... something light, with chocolate, but not too rich.  This was perfect! It was much more "bready" than I anticipated (not very sweet), and was nicely accompanied by homemade whipped cream.  I was disappointed that the mini chocolate chips all sunk to the bottom of the pan (which created a layer of them on the top of the cake), instead of being scatter throughout.  Next time I will try to solve that problem.  I might also cut back a little bit on the cinnamon.  Otherwise, a delicious birthday treat!

And for those who are wondering... my husband made me a fabulous birthday dessert last year (which I will post later), and he grilled some steak for us this year... I love baking my own cake; it's fun. =)

Ingredients:
2 c. cake flour
1 1/3 c. sugar
1 tsp. baking powder
1/2 tsp. salt
4 tsp. cinnamon
1/2 c. canola oil
6 large eggs, separated
2/3 c. water
2 tsp. vanilla
1 1/2 c. miniature semisweet chocolate chips
1/2 tsp. cream of tartar

garnish:
1 Tbs. powdered sugar
1/8 tsp. cinnamon
1/4 tsp. unsweetened cocoa powder

Directions:

Preheat the oven to 325.  Have a 9 1/2-10 inch tube pan ready with at least 3 3/4" inch high sides.  Do not use a nonstick pan.

Sift the cake flour, 1 cup of the sugar, the baking powder, salt, and cinnamon into a large bowl.  Use a large spoon to make a well in the center of the flour mixture and add the oil, egg yolks, water, and vanilla. Use an electric mixer on medium speed to beat the mixture until it is smooth and thick, about 3 minutes.  Stop the mixer and scrape the sides of the bowl as needed during mixing.  Use a rubber spatula to fold in the chocolate chips and set aside.

In another large bowl, with clean beaters, beat the egg whites and cream of tartar on low speed until the whites are foamy and the cream of tartar dissolves.  Beat on medium speed until the egg whites look shiny and smooth and the movement of the beaters forms lines in the beaten whites.  If you stop the mixer, the white should cling to the beaters.  Slowly beat in the remaining 1/3 cup of sugar, 1 tablespoon at a time, then beat for about 1 minute to firm, glossy peaks.  Stir about one-third of the beaten egg whites into the egg yolk mixture, then fold in the remaining egg whites until no white streaks remain.

Scrape the batter into the tube pan and gently smooth the top.  Bake until the top of the cake feels firm when you gently press it and any small cracks in the top look dry, about 1 hour.

Invert the pan onto a narrow-necked bottle (a full wine bottle works well) and let cool for 1 hour.

Remove the pan from the bottle and run a thin knife around the sides and center tube of the pan to loosen the cake.  Remove the cake from the pan by inverting it onto a flat serving plate, then place a wire rack on the bottom of the cake and invert the cake onto the rack, sot eh cake is right side up.  Cool the cake thoroughly on the wire rack.

Mix the powdered sugar and cinnamon together, put the mixture in a small strained and dust it evenly over the top of the cake.  Dust the powdered sugar mixture lightly with the cocoa powder.  Slip a large metal spatula under the cake and slide it onto a serving plate.  Use a serrated knife to cut the cake.

Thursday, June 23, 2011

Skillet Chicken Tamale Pie


I was craving a new recipe, something I had never made before... I flipped through my Healthy Test Kitchen Cookbook, and this was the recipe I landed on (mainly because I had MOST of the ingredients, and substitutes for the things I didn't have).  I made two mistakes... I had cut the recipe in half, but kept the topping the same... the ratio was off; definitely needed to keep the filling the same! Second mistake was turning the oven on to 450 degrees when its 85 degrees outside... oops.

Try it out and tell me what you think.  I will post the recipe as is, but add in my changes (minus the ratio)

Ingredients:

Filling:
1 lb. boneless, skinless chicken thighs (5-6) trimmed
Salt and Pepper
2 tsp. extra-virgin olive oil
1 onion, minced
3 poblano chiles, stemmed, seeded, and chopped fine (I subbed green bell pepper)
3 garlic cloves, minced
1 T. all-purpose flour
1 1/2 c. chicken broth
1 (15-oz.) can hominy, drained and rinse (for those of you who don't know, this is found in the mexican aisle and really doesn't have a replacement... it's corn kernels, similar to grits... I just used frozen corn)
1 (7-oz) can chopped green chiles (I omitted)
1 ear corn, kernels removed (I used frozen)
1 cup shredded cheddar cheese
1/4 c. minced fresh cilantro (I omitted)

Topping:
3/4 c. all-purpose flour
3/4 c. yellow cornmeal
3 T. sugar
3/4 tsp. baking powder
1/4 tsp. baking soda
1/2 tsp. salt
3/4 c. buttermilk
1 large egg
1 T. unsalted butter, melted and cooled

Directions:
Filling:
1. Preheat oven to 450.  Pat the chicken dry and season with salt and pepper.  Heat the oil in a 12-inch ovenproof skillet over medium-high heat until just smoking.  Add the chicken and cook until browned on both sides, 6-8 minutes.  Transfer the chicken to a plate, leaving the fat in the pan.

2. Add the onion and poblanos to the fat in the skillet and cook until softened and lightly browned, 5-7 minutes.  Stir in the garlic and cok until fragrant, about 30 seconds.  Stir in the flour and cook for 30 seconds.

3. Stir in the broth, hominy, chiles, and corn, and bring to a simmer.  Add the browned chicken thighs, cover and cook over medium-low heat until the chicken is tender and can be shredded easily, about 10 minutes.

4.  Remove the skillet from the heat.  Transfer the chicken to a plate, shred into bite-sized pieces when cool enough to handle, then return to the skillet.  Stir in the cheddar and cilantro and season with salt and pepper to taste.  Cover to keep warm while preparing the topping.

Topping:
1. Whisk the dry ingredients together in a lark bowl.  In a separate bowl, whisk together the buttermilk and egg.  Stir the buttermilk mixture into the flour mixture until uniform, then stir in the melted butter until just combined.

2. Return the filling to a simmer over medium-high heat, then smooth into an even layer.  Off the heat, dollop the cornbread topping evenly over the filling, cover the filling completely.  Bake until the topping is golden and set, 15-20 minutes.  Let the pie cool for 10 minutes before serving.

Wednesday, June 22, 2011

Laundry Detergent

A little different than our normal posts... this is a peak into the crazy homemaking life of Mikaela.  Yes, I make my own laundry detergent.  You would too if you saw how easy it is and how much money it saves! The resource I use for my recipe broke down the cost between making laundry detergent and buying name-brand (he estimated 2 1/4 cents per load with homemade, and 20 cents with namebrand).  That saves about $65 a year if you do a load a day!!

I recommend checking out the website for more money-saving tips... but, for the recipe, I'll post it here for you, because I REALLY want you to try it! I even made you a step-by-step picture tutorial. =) Try it. Just once, and if you hate it, you never have to make it again!

To make it you'll need:
1 bar soap
1/2 c. borax (optional)
1 c. washing/baking soda
3 gallons water + 4 cups
A 5 gallon bucket

Cut up the bar of soap... you can use any kind

Bring 4 cups water to a boil, then add the soap one handful at a time

When the soap is dissolved, take it off the heat

Put 3 gallons warm tap water into your bucket

Measure out 1 cup washing soda and 1/2 cup borax

Add the dissolved soapy water, soda, and borax and stir

Cover with a lid overnight

Voila! Laundry Soap.

It is normal for the soap to separate; just make sure you scoop out some solid and liquid if it does... also, you can add any essential oil if you want a scent. This bucket lasted me almost a year.

Tuesday, June 21, 2011

Chewy Chocolate-Oat Bars


These are a forgotten favorite in our house... I always double the recipe to put in a 9x13 pan.  It was gone in 2 days!

Ingredients:
1/2 c. semisweet chocolate chips
1/3 c. fat-free sweetened condensed milk
1 c. whole wheat flour
1/2 c. plus 2 T. old-fashioned oats
1/2 tsp. baking powder
1/2 tsp. baking soda
1/4 tsp. salt
3/4 c. packed brown sugar
1/4 c. vegetable oil
1 egg
1 tsp. vanilla

Directions:

Heat oven to 350.  Heat the chocolate chips and milk in a medium heavy saucepan over low heat.  Cook, stirring, until the chocolate is melted and mixture is smooth, about 3 minutes; set aside.

Mix the flour, 1/2 cup of the oats, baking powder, baking soda, and salt in a large bowl; set aside.  Combine the brown sugar, oil, egg, and vanilla in a medium bowl with a fork until smooth; stir into the flour mixture until blended.  Reserve 1/2 cup of the dough in a small bowl for topping.  

Pat the remaining dough into a greased 8-inch square baking dish; spread the chocolate mixture over the dough.  Add the remaining 2 tablespoons of the oats and the butter to the reserved dough, mix with a pastry blender or fork until crumbly.  Drop small spoonfuls of oat mixture evenly over chocolate mixture.  Bake until top is golden and firm, 20 to 25 minutes.  Cool completely, about 1 1/2 hours.  


2 T. butter

Tuesday, June 7, 2011

Banana-Oatmeal Chocolate Chip Cookies

I don't have a picture of these cookies, but this is the cookbook they came out of:
klivans.jpg
Thanks, Chama for the 2010 birthday present :)

Just imagine an oatmeal chocolate chip cookie, 75% baked, with inconspicuous banana pieces.  Take my word for it, they're amazing.

I froze half the batch, which worked out fantastic.  Next time, I will use half the batch to make a chocolate-banana trifle. Stay tuned for that recipe. :)

Ingredients:

2 1/2 c. flour
2 tsp. soda
1/2 tsp. salt
2 tsp. cinnamon
1 1/2 sticks butter, room temp (12 Tbsp)
1 c. white sugar
1 c. light brown sugar
2 eggs
2 tsp. vanilla
2 c. oatmeal
4 c. chocolate chips
2-4  bananas, cut into 1/4" pieces

Directions:

Preheat oven to 350 degrees.

In a small bowl, stir the flour, baking soda, salt, and cinnamon together and set aside.  In a separate bowl, use an electric mixer on medium speed to beat the butter and sugars until smooth, about 1 minute.  Beat in egg and vanilla and mix until blended.  Add in the flour mixture with the mixer on low.  Mix in the oatmeal, then chocolate chips, then bananas.

Drop by tablespoon onto ungreased cookie sheets.  Cook 10-12 minutes or until the edges are lightly brown and the tops look dry.  Allow to cool for 10 minutes on the baking sheet before transferring to a cooling rack.

Monday, May 30, 2011

Mac's Guacamole


This really isn't MAC's guacamole, but I think of it that way since he is always the one who makes it; and he does a killer job at it, too!  He usually makes this to go in his fantastic 7 layer dip (which I'll give you the 7 layers for at the end of this post).  The guacamole recipe is off of allrecipes.com

Ingredients:

  • 3 avocados - peeled, pitted, and mashed
  • 1 lime, juiced
  • 1 teaspoon salt
  • 1/2 cup diced onion
  • 3 tablespoons chopped fresh cilantro
  • 2 roma (plum) tomatoes, diced
  • 1 teaspoon minced garlic
  • 1 pinch ground cayenne pepper

Directions:

In a medium bowl, mash together the avocados, lime juice, and salt. Mix in onion, cilantro, tomatoes, and garlic. Stir in cayenne pepper. Refrigerate 1 hour for best flavor, or serve immediately.


7 layer dip:

The recipe calls for it to be warmed up, but Mac likes to serve it cold, and everyone likes it that way.  Goes great with the Tostitos scoops!  Just spread each layer in a 9x13 pan and serve.

1 can Refried Beans
8 oz. sour cream
Guacamole (1 recipe)
2 c. Colby Jack cheese, shredded
2-3 Roma tomatoes, diced
1 can sliced black olives
Jalapenos (optional)

Tuesday, May 24, 2011

Corn and Chicken Soup with Garlic-Cheese Biscuits


I was sick for two weeks.... and while this soup did not help me get better, it was soothing. :) A new, simple twist on chicken noodle soup.

1 (16oz) bag frozen corn, thawed
8 cups low-sodium chicken broth
1 T. unsalted butter
1 onion, chopped (I left it out for my anti-onion friends)
1 celery rib, sliced thin
Salt and Pepper
2 boneless, skinless chicken breasts, cut into 1/2-inch chunks
3 cups egg noodles

Directions:

Combine 2 cups of corn and 2 cups broth in blender and puree until smooth.  Melt the butter in Dutch oven over medium-high heat.  Cook onion, celery, remaining corn, and 1/2 teaspoon salt until softened, 5 to 7 minutes.

Stir in remaining broth, chicken, noodles, and pureed corn mixture.  Bring to a boil, then reduce heat to medium and simmer until noodles are tender and chicken is cooked through, 6 to 8 minutes.  Season with salt and pepper.


Believe it or not, this recipe came off the back of the flour bag! Yum!

Ingredients:
2 1/2 c. self-rising flour
2 tsp. sugar
1/2 c. butter
1 c. buttermilk
3/4 c. cheddar cheese
2 T. butter, melted
1/8 tsp. garlic powder

Directions:

Heat oven to 450 degrees.  Stir together flour and sugar.  Use a pastry blender to cut in 1/2 c. butter until mixture is crumble.  Stir in buttermilk and cheese until dough comes together.  Drop by large spoonfuls onto a cookie sheet and back 10-12 minutes.  After baking, brush with mixture of butter and garlic powder.

Tuesday, May 17, 2011

Blog Fail.

Sorry... I've failed at consistently posting new recipes lately... if you would like my sorry excuse of an apology, you can check out the "words" page.  New recipes to follow shortly.

Monday, May 9, 2011

Slow Cooker Pulled Pork

I've been holding off on posting this recipe simply because I wanted to let the photo on Pulled Pork Sandwiches get you excited for it.  Well, enough with the waiting! Here's the recipe:

Ingredients:
2 lb. pork roast (I used a top sirloin roast, but any will work)
1 12-oz. bottle/can root beer (we always use Henry Weinhards)
1 16 oz. bottle BBQ sauce (or make your own - we used Sweet Baby Rays this time, but I like to make our own)

Directions:
Place roast in a slow cooker and poke holes in it with a fork.  Pour the root beer over the roast, then cover and cook on low for 6-8 hours.  Remove roast and shred.  Drain the slow cooker, add the pork back in and mix with the bottle of bbq sauce and let cook about 30 more minutes, until warm.

Sunday, May 8, 2011

Chocolate Cake with Peanut Butter Filling

Oh. man.
Chocolate Cream Cheese Frosting.


Chocolate Cake.

Peanut Butter Filling.

That's a lotta goodness.

Thank you, Erica, for introducing us to Rachael Ray's slice of heaven 
 
ThreeTips:
1. Disregard the amount of butter
2. Cut the recipe in half
3. Still disregard the amount of butter


Coleslaw

This is the coleslaw that goes with the amazing Pulled Pork.  I love how crisp this stays... adds a nice crunch to the sandwich!

Ingredients:
1 head red or green cabbage (about 2 pounds), cored and sliced thin
Salt and Pepper
2 carrots, peeled and shredded
1 c. buttermilk
1/4 c. light mayonnaise
1/4 c. lowfat sour cream
3 scallions, sliced thin (I left them out)
3 T. minced fresh parsley
2 tsp. cider vinegar
1 tsp. Dijon mustard
1/2 tsp. honey

Directions:
Toss the cabbage with 1 teaspoon salt in a colander and let sit until wilted, about 1 hour.  Rinse the cabbage under cold water, drain, and pat dry thoroughly with paper towels.  Toss the dried cabbage and carrots together in a large bowl to combine.

Whisk the buttermilk, mayonnaise, sour cream, scallions, parsley, vinegar, mustard, honey, 1/4 teaspoon salt and 1/4 teaspoon pepper together in a bowl until smooth.  Pour the dressing over the cabbage mixture and toss to coat.  Cover and refrigerate until the flavors have blended, about 1 hour.

Wednesday, May 4, 2011

Pulled Pork Sandwiches

Yum.

Recipe to be added later... I just wanted to tempt to you and make your mouth water at the sight of our homemade pulled pork and coleslaw. 

Enjoy the picture for now.

Sunday, May 1, 2011

White Chicken Enchiladas

I forgot to give credit for this delicious recipe... thanks to co-worker, Nick, for introducing us to this fantastic enchilada recipe at a potluck!  We found that this makes a great freezer meal - I made two batches for the neighbors when they had their new baby.  Enjoy!
Ingredients:
1 cup chopped onion
1/2 cup chopped green pepper
2 Tbsp. butter
2 cups cooked, chopped chicken
4 oz.  can chopped green chilies
3 tbsp. butter
1/4 cup flour
1 tsp. ground coriander
3/4 tsp. salt
2 1/2 cups low sodium chicken broth
1 cup sour cream
1 1/2 cups shredded monterey jack cheese
12 6" tortillas at room temperature

Directions:

Saute onion and green pepper in 2 Tbsp butter, combine with chicken and chilies in a bowl.

For sauce, melt 3 Tbsp butter, stir in flour, coriander and salt.  Whisk in broth and stir until thickened and bubbly.  Remove from heat and stir in sour cream and 1/2 cup cheese.  Stir 1/2 cup sauce into chicken mixture.

Fill each tortilla with 1/4 cup chicken mixture and place in greased pan:
6 enchiladas per square pan, topped with 1 cup sauce and 1/2 cup cheese
12 enchiladas per 9x13 topped with 2 cups sauce and 1 cup cheese.

To freeze: wrap well with foil, label, and date.  Freeze for up to 2 months.

To Bake: to eat same day, bake uncovered at 350 degrees for about 25 minutes or until bubbly.  From frozen, thaw completely and bake as mentioned, or bake covered 1 hour, then uncover and bake 25 more minutes until hot and bubbly.